-
-
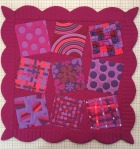
March 11 Similar Color Quilt 51X51 cm 1.Combination of similar colors 2.Raw edge applique 3.How to finish the scalloping border method
-
-
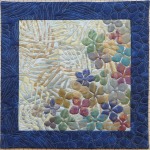
March 10. Painted quilt using a stencil
technique 50X50 cm.
1. Painting by using stencil technique
2. How to make a stencil sheet
3. Stencil using cloth paint
-
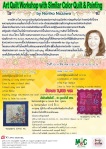
There’s a quilt workshop by Noriko Nozawa coming up, here in Bangkok. It’s in Thai, however the slides for the presentation are in English. It’s at the Amara Hotel on Surawong Rd, from 9:30 am to 4:00 pm over two days March 10-11.
K-Line Travel brings you this quilting workshop by Noriko Nozawa. All quilters are invited to join in. Learn art quilt techniques that are easy and fun using art quilt master Noriko’s own techniques. Noriko is of the top level art
quilters in Japan, and an expert at machine quilting and art quilts.
Noriko is recognized in the U.S. and worldwide. In this workshop she will teach her technique for painting on fabric using a stencil sheet and free motion quilting to create a quilt that looks like a pen and ink drawing. On the second day of the workshop Noriko will teach Raw Edge Applique. Learn how to place similar tone fabrics and different tones next to each other, to make nine different patterns.
Learn to make a border with scalloping so your quilt will be ready to show. Noriko Nozawa has so many style tips, don’t miss it! Bring your own sewing machine.
Location: Amara Bangkok Hotel, floor 8
March 10-11, 2018 from 9:30 am to 4:00 pm.
Cost 7900 baht which includes both days.
For details and to register call K-Line Travel 02-2670768-74, 0892032129 (Jaranya)
Then transfer 7900 baht from your bank to K-Line Logistics acct at either
of these 2 banks:
K-Bank, Patpong branch, acct # 018-1-141727
Krung Thai Bank, Surawong branch, acct # 064-2-158617
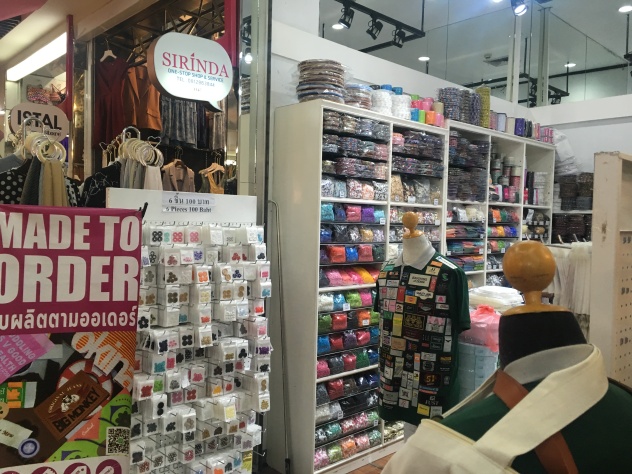
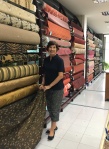
 This is the third Quilt Show showcasing the lovely quilts made by Khun June and her students.
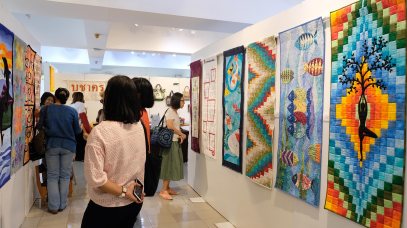


Anonymous 11:10 am on July 14, 2023 Permalink |
there are all zipper related products, including finished zipper, zipper long chain, zipper machine and zipper mold etc… http://www.qlqcompany.com
LikeLike
Karin de Jongh 5:39 pm on January 24, 2022 Permalink |
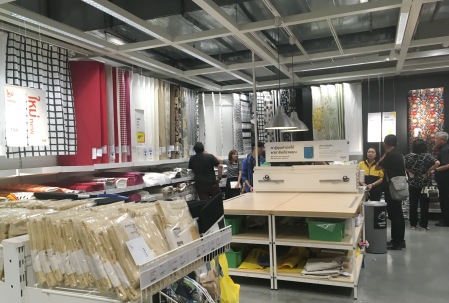
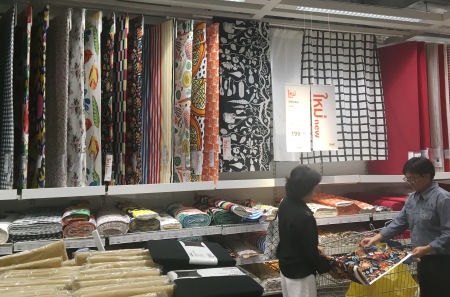
I would like to know if Sampeng Lane (fabrics) are open and stocked and ready for business. Would like to come shop from South Africa but dont want to come if not fully operational.
LikeLike
Jill C. 9:04 pm on January 24, 2022 Permalink |
Shops are open and stocked, according to my son-in-law. I haven’t been there myself.
LikeLike
cutting-edge 8:06 pm on November 25, 2020 Permalink |
Fantastic
LikeLike
orchid 6:14 pm on November 21, 2020 Permalink |
Seychelles Rupee
LikeLike
Hlaing Wai Lwin 9:56 pm on June 11, 2020 Permalink |
Is there any retail shop that can buy online in Thailand?
LikeLike
Jill C. 3:50 pm on June 15, 2020 Permalink |
Try Quilt Republic https://www.quilt-republic.com/ and Hong Garment Accessories https://www.hga2001.com/
LikeLike
Karan 2:21 pm on October 5, 2020 Permalink |
We have just received about 500 traditional style cotton muslin and cotton/poly quilts from our contractor. Single size, 58in x 80 in. Batting is 100% polyester. They are machine washable and can be tumble dried as well. We’ve been gifting them to our textile customers. Feedback has been very good. They are available for sale.
LikeLike
backyard - Reid 10:26 am on November 20, 2019 Permalink |
Hi Jill.
I’m quite new to Thailand, and would love to reach out to you about sewing generally in Bangkok. I think it was one of your posts that led me to a sewing machine shop where I was able to buy a new set of legs for my industrial lock stitch machine. Thank you.
Kind regards, Reid
LikeLike